
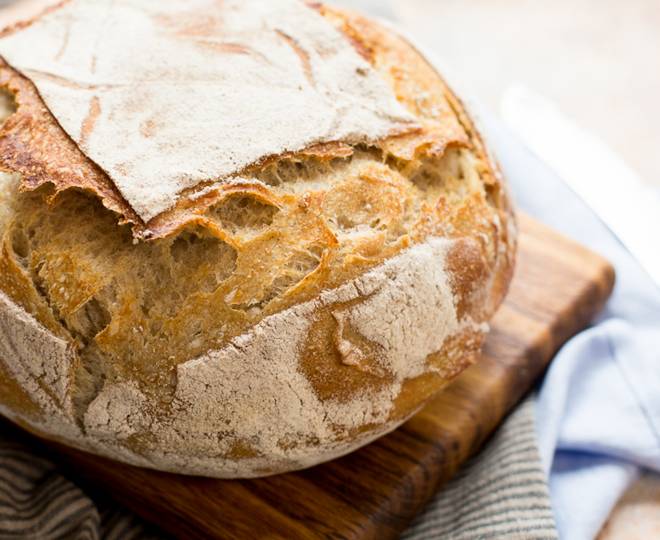
This recipe below gives you in-depth instructions on how to firstly make your sourdough starter, then a lovely sourdough loaf! Enjoy!
Giving life to your very own sourdough starter
- On day one place 50g wholemeal flour and 50g water into a clean bowl and stir together until fully combined. Cover and leave at room temperature overnight.
- On day two add to the sourdough starter 75g wholemeal flour and 75g water. Stir together until fully combined. Cover and leave at room temperature overnight.
- On day three discard 100g of sourdough starter and add to it – 100g water and 100g wholemeal flour. Mix together, cover and leave overnight
- On day four: discard 150g of sourdough starter and add to it – 100g water and 100g wholemeal flour. Mix together, cover and leave overnight. The starter should start to smell pleasantly sour with small bubbles appearing on the surface.
- On day five: discard 200g of sourdough starter and add to it – 150g water and 150g strong white flour. Mix together, cover and leave overnight. The starter should appear active and full of bubbles.
- On day six: the starter should be quite active now and be full of little bubbles and smell slightly sour. Discard 250g of sourdough starter and add to it – 200g water and 200g strong white flour. Mix together, cover and leave overnight
- On day seven: The starter should now be very active and full of bubbles. The starter is now ready to use.
Remember when making your sourdough bread always retain some sourdough starter which will be feed/refreshed ensuring you have some sourdough starter for the next dough
To maintain your starter
- Your sourdough starter/ culture is a bubbling living collection of friendly bacteria that will be used to make your dough rise. It is the natural yeast that will be used to make your sourdough bread.
- Sourdough starter is best stored in a bowl or plastic container, something which can be covered. Make sure to allow room within the container for the sourdough starter to grow and rise.
- To refresh or feed the sourdough starter:
Whatever weight of sourdough starter you have add the same weight of flour and the same weight of water.
or example, 200g of sourdough starter add 200g of flour and 200g water. Stir everything together. If you have too much starter discard the excess and keep back what you need. - If the sourdough starter is stored at room temperature it will require to be refreshed/feed every day
- For the home baker, when you might only bake once a week to feed/refresh your sourdough starter every day can become quite expensive. Therefore, your starter can be stored in the fridge for up to 10 days and taken out when needed.
- If using the starter from the fridge:
Take the starter out from the fridge the day before you plan to bake. This will allow the starter to come to room temperature. The night before you plan to bake refresh/ feed your starter as per the instructions above. Leave the sourdough starter at room temperature overnight. The next morning the starter should be active and full of bubbles and ready to bake with. - Take what you need to make your dough. Feed the remaining starter and return it to the fridge.
To make your sourdough bread
1. Add the flour to a clean mixing bowl. Mix the salt through the flour. Add the water and sourdough starter to the flour. Combine all the ingredients together to form a rough dough.
2. Turn the dough out onto a clean work surface. Knead the dough for 10 seconds. Return the dough to the mixing bowl and leave to one side for approximately 10 minutes.
3. As the dough rests the gluten within the dough continues to develop. It also creates time when you can continue with your daily life.
4. When kneading, do not worry if the dough is slightly wet or sticky. Resist the temptation to add any extra flour.
5. After 10 minutes return to the dough. Turn the dough out onto the work surface and knead for 10 seconds, return the dough to the mixing bowl and allow the dough to rest for a further 10 minutes.
6. The dough will need to be kneaded one more time. After the third time of kneading for 10 seconds the dough should be smooth, smooth and elastic.
7. Return the dough to the mixing bowl, cover with cling film and allow the dough to prove for 4 hours at room temperature.
8. After 4 hours turn the dough onto a clean work surface and knock the dough back. Knocking back the dough simply involves knocking the air from the dough and equalising the temperature within the dough.
9. Form the dough into a tight round ball. Prepare a proving basket by lightly dusting with flour, alternatively if you do not have a proving basket line a 2.5l round pyrex dish with a clean tea towel and dust with flour. Place the dough seamed side facing up into the proving basket or alternatively the Pyrex dish.
10. Prepare the lid of the pyrex dish by greasing and dusting with flour this will prevent the dough from sticking to the lid later. Cover the Pyrex dish with a lid and place into a fridge and leave overnight.
11. The reason for using a Pyrex dish is that it acts like a proving basket. The dish acts as a support to your dough. It encourages the dough the take on the shape of the dish and to prove up and not just to spread out flat. The dough will also be baked in the Pyrex dish. Using a fridge reduces the temperature of the dough allowing it to prove slower and longer which allows for a greater development of flavour within the dough but also increasing its digestibility. As dough ferments or proves the gluten within the dough breaks down. The longer a dough is allowed to prove the more flavour it will contain and the easier it is for your body to digest.
12. The next morning preheat your oven to 230C
13. Remove the Pyrex dish containing your dough from the fridge. Flip the Pyrex dish over, so the bowl of the Pyrex dish now becomes the lid. Remove the tea towel.
14. Using a sharp knife cut the surface of the dough, this is what is known as the baker’s signature. The dough can be cut up to ½ cm deep. Cover the dough with the bowl of the Pyrex dish and place the Pyrex dish into the preheated oven.
15. By baking the dough in the Pyrex dish there is no need to steam the oven. Baking with a lid on the Pyrex dish creates its own steam which will allow the dough to rise and open up while baking. The Pyrex is very similar to the old style of Dutch oven baking.
16. The dough will need to be baked for 50 minutes. After 25 minutes remove the lid from the Pyrex and continue to bake for a further 25 minutes.
17. Once baked remove the bread from the Pyrex dish and allow to cool.
Alternatively, if you have a proving basket simply remove the proving basket from the fridge. Pre-heat the oven to 230°C/425°F/Gas 7 and place a baking tray in the bottom of the oven. Turn the sourdough dough loaf out onto a baking tray or hot baking stone. Flour, score or glaze as required and put into the preheated oven. To create steam to the preheated baking tray in the base of the oven add a handful of throwing ice cubes or pour in some water from a boiling kettle This will release a blast of steam into the oven. Bake for 30 to 35 minutes or until a good crust has formed and the loaf sounds hollow when tapped on the base.
RECIPE INFORMATION
Difficulty Intermediate
INGREDIENTS
Sourdough Starter
- 325g wholemeal flour
- 675g water
- 250g strong white flour
Sourdough Bread
- 500g strong white flour
- 5g salt
- 325g water
- 150g sourdough starter
MORE RECIPES
Trout Tartare in Chickpea Tartlet with Borage Aioli by Tasting Spain

Lentil Stew with Pork Ribs, Goat Cheese & Gofio Crisp by Tasting Spain
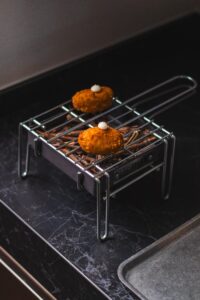
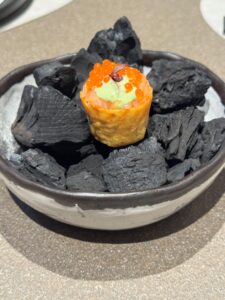
Aragón Lamb Croquettes with Smoked Mayonnaise

Roasted Squash with Cow’s Milk Ricotta and Baba Ghanoush by Tasting Spain

Crispy Canarian Pork Spring Rolls with Mojo Yogurt & Lettuce by Tasting Spain

Sweet Potato “Ensaladilla” with Pickles and Tuna by Tasting Spain
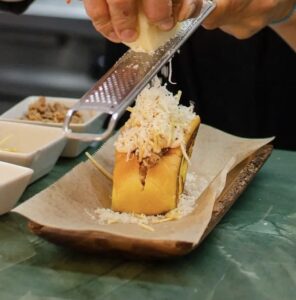
Mini Brioche Buns Filled with Slow-Cooked Canarian Kid Goat Meat, Quince Paste Mayo, Crispy Shoestring Potatoes, and Aged Canarian Cheese by Tasting Spain

The Fercullen Fáilte

Matcha by London Essence

